Nothing is ever easy…

Nothing is ever easy…

The big problem with all these types of projects is that nothing is available off the shelf.

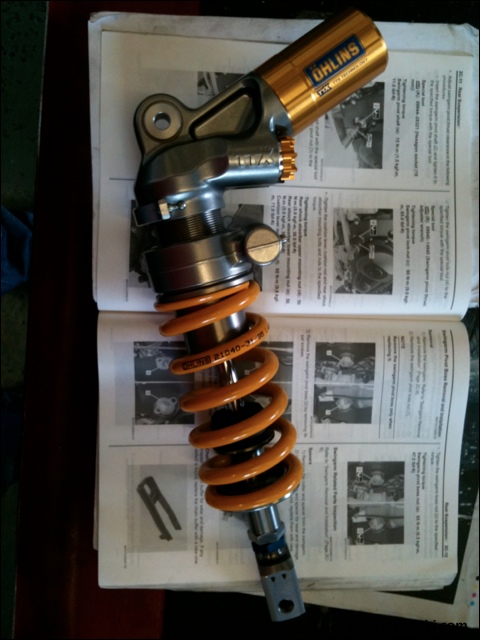
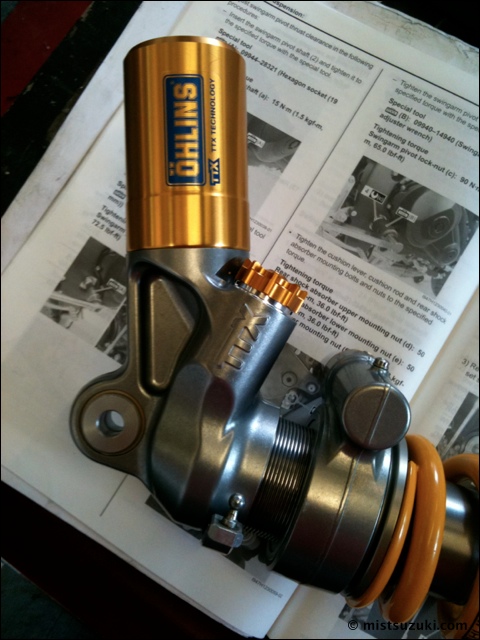
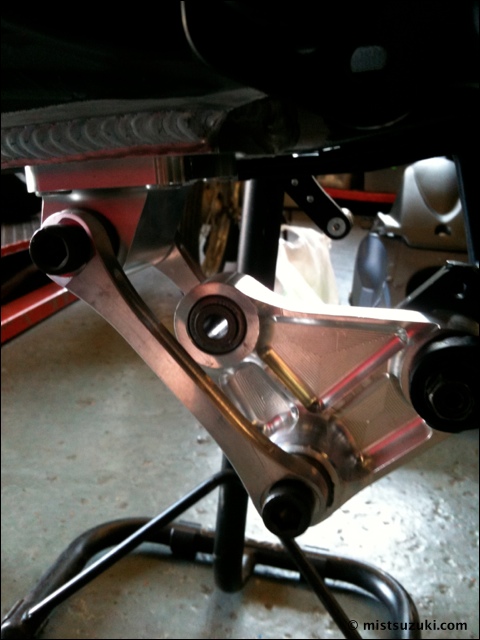
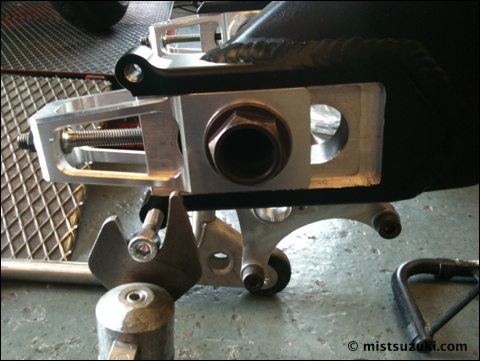
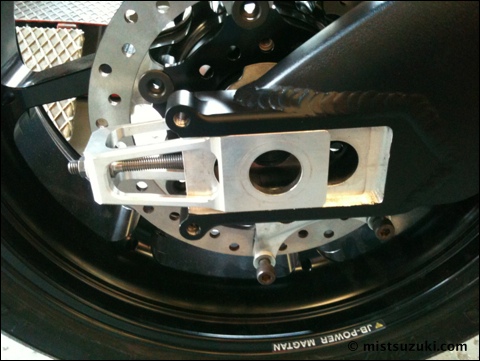
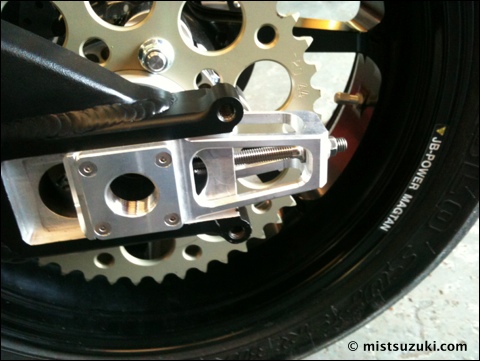
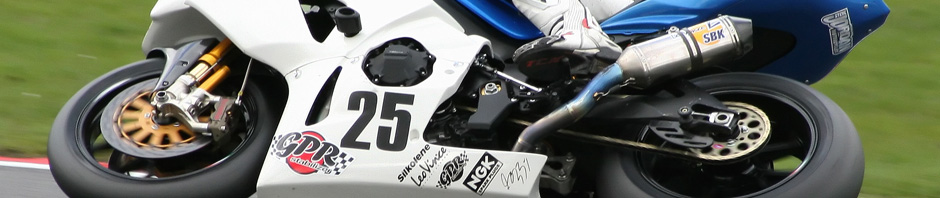
I managed to buy the suspension linkage, then I had to get some hardened spacers, then some of those hardened spacers had to be machined. Then I had to find the right length and type of bolts to give enough clearance.

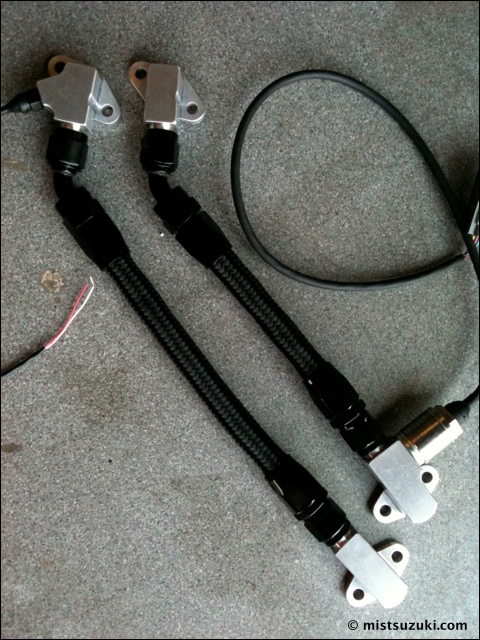
Having the wiring harness made is relatively painless, albeit expensive, but every sensor has to be in position first, so a dozen or so one off brackets have to be designed and made.

When we ran in the BSB Evo class in 2010 we had a wiring harness made but most of the sensors stayed were they were on the stock bike. On this bike everything will move, the battery will be in a new position, the tip over sensor is being replaced by an HRC item, the regulator/rectifier is an aftermarket item, etc.

The bespoke dash bracket we used last year was quite simple, one major connector for the dash and one to allow us to hook up the laptop to connect to the electronics. We found we still had plenty of wires for various sensors, etc. getting in the way. This time the dash bracket will have connectors for the front potentiometer, front brake pressure sensor, etc. and then plenty of internal wiring to give us another big connector to bring everything together and connect it to the main harness.

We are hoping to use a fuel tank that will centralise the weight distribution of the bike. This then needs a different rear subframe, in fact it’s so small you could hardly even call it a subframe. This positions the standard fuel pump a lot further back so we need a new fuel line which, of course, requires that we modify both the end of the pump and the fuel rail that sits on the throttle bodies.

Everything takes time and money.

Posted in 2011, Blog Entry, Mike Edwards | Comments Off on Nothing is ever easy…

Starting Chassis Build…

Starting Chassis Build…

The biggest challenge when building SuperBike is getting all the new pieces to work well together. Nothing is ever easy, whether it is a small bracket to mount a wheel speed sensor or something major such as a new fuel tank, swing arm or even the wiring loom.

The new shock is a special Ohlins item made specifically for SuperBike use with factory suspension linkages. Of course, it is longer and the reservoir cylinder is facing away to give more clearance. That’s fine except is hits the bottom of the standard subframe but we were planning on changing that anyway.

IMG_0418

When we get the new tank we will have to change the top mount to fix the clearance problems. For the moment we have a narrower top mount but we need a longer clevis anyway. The bottom fitment is also non-standard to work with the new linkage.

Even the simple things need special brackets, note the clip on potentiometer mount in this photo:

IMG_0419

The actual linkage is reversed compared to normal and although we are using a standard swing arm for the moment it has been modified to have quick release wheels and the linkage mount has also been modified. This gives us an option of a variety of mounting brackets that can be bolted on.

The settings we have should work well which should be a good interim step until we get the money to have a bespoke swing arm made. We have had this tested and found the torsional stiffness is where we want it to be but the lateral stiffness is way too stiff for the optimum edge grip. As usual every little problem can be solved with money…

IMG_0420

The axle mounts and adjusters have simply been cut off and new blocks welded in. This allows us to run a longer wheelbases than with the stock swing arm but also has some other benefits.

IMG_0422

Here you can see the adjuster block with one of the other secrets. The wheels have captive spacers and the blocks have small supports underneath so you can just drop the wheel in to place and it is held without the axle. In fact, it is totally self supporting and the axle can just be slid through with one hand when required.

IMG_0423

And the same things from the other side…

IMG_0424

More little ‘nice to haves’. There are the bespoke oil cooler brackets. They bolt on as usual but have lightweight HEL oil lines between them. You can also see the oil pressure sensor mounted on one block and the oil temperature sensor on the other.

IMG_0425

Posted in 2011, Blog Entry, Mike Edwards | Comments Off on Starting Chassis Build…

More Engine Work…

More Engine Work…

After a brief hiatus working on other things we finally managed to get back to the engine. First step was to rebuild the freshly ported and skimmed head with the Yoshimura Cotters & Retainers.

IMG_0404

Somewhere in our pile of parts is the original see of Cotters purchased for the project but, not being able to find them, we had to buy another set to allow things to progress.

IMG_0405

Having double checked the cam timing on the Yoshi cams it was time to shim the head properly, or at least take an initial best guess at it, and fit the cams that we had cut to our profile a couple of years ago. As we never got around to using them at the time we had to press the Yoshimura cam wheels on and then get them timed up to an initial spec. to see how they would perform.

IMG_0406

Of course once we had the timing set we had to go back and re-shim everything to give the correct clearances. An engine builders work is never done.

IMG_0407

In this modern age it is a constant surprise that we have to resort to the old school method of cam timing. Even with a dial gauge accurate to the nearest one hundredth of a millimetre we still rely on a big degreeing wheel to measure the crank position.

IMG_0408

Posted in 2011, Blog Entry, Mike Edwards | Comments Off on More Engine Work…